Post | 09 Jun 2026
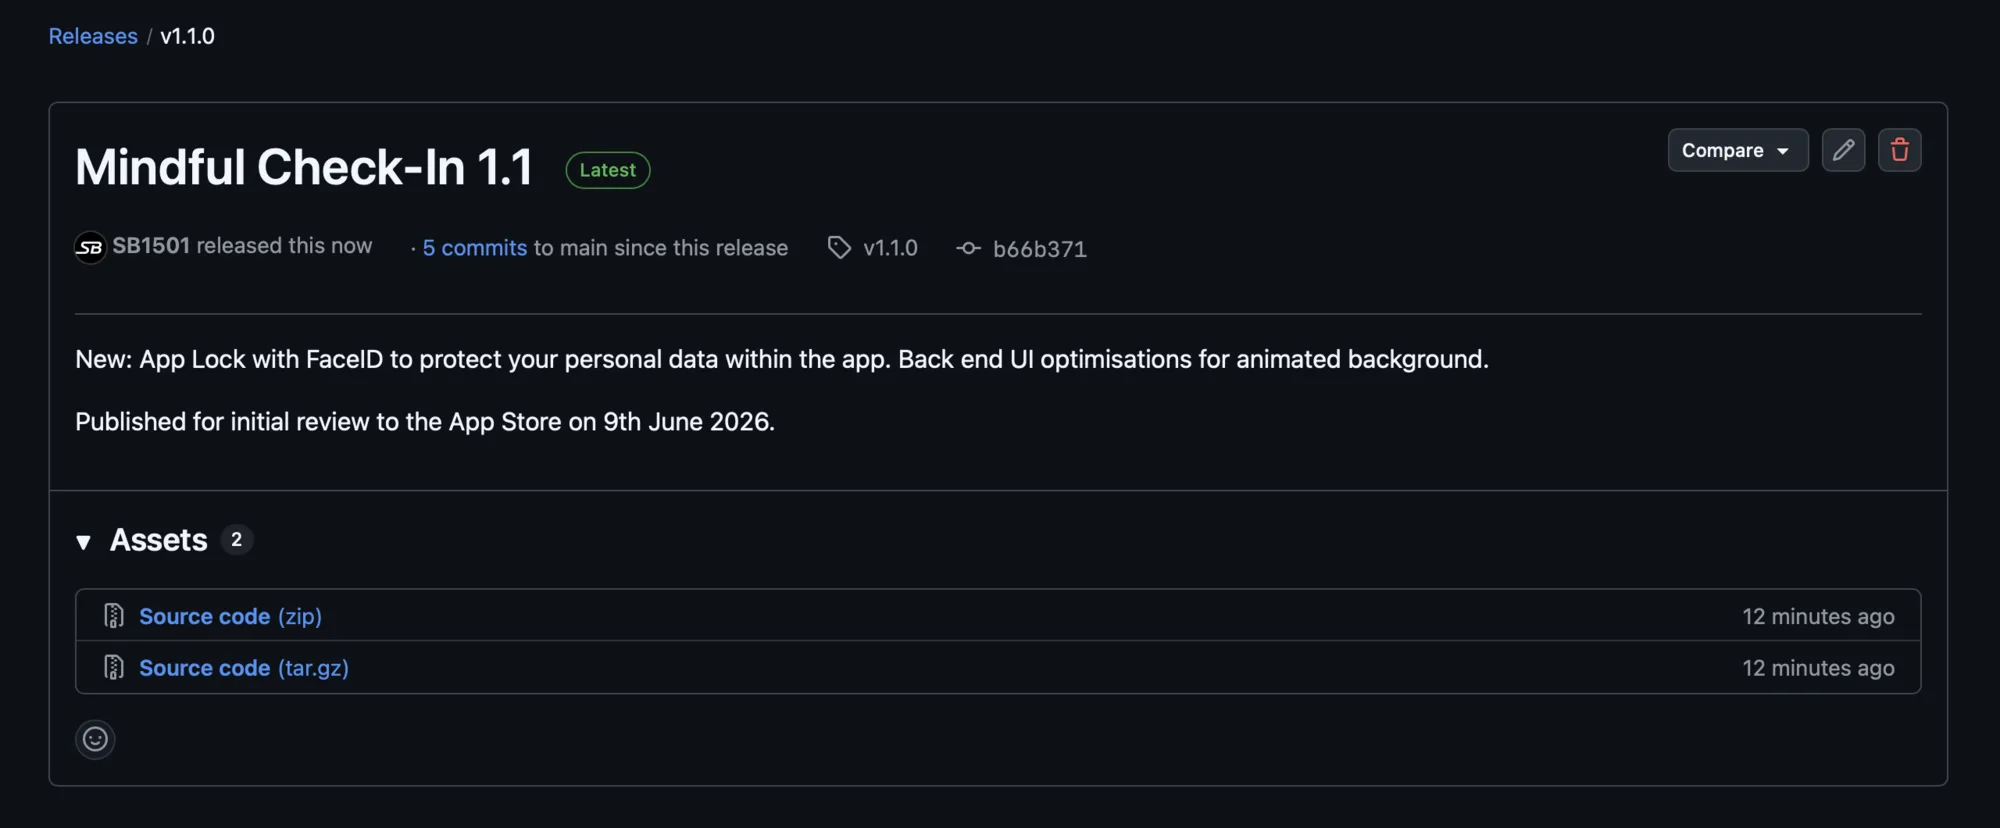
Mindful Check-In 1.1 adds FaceID Biometric Locking
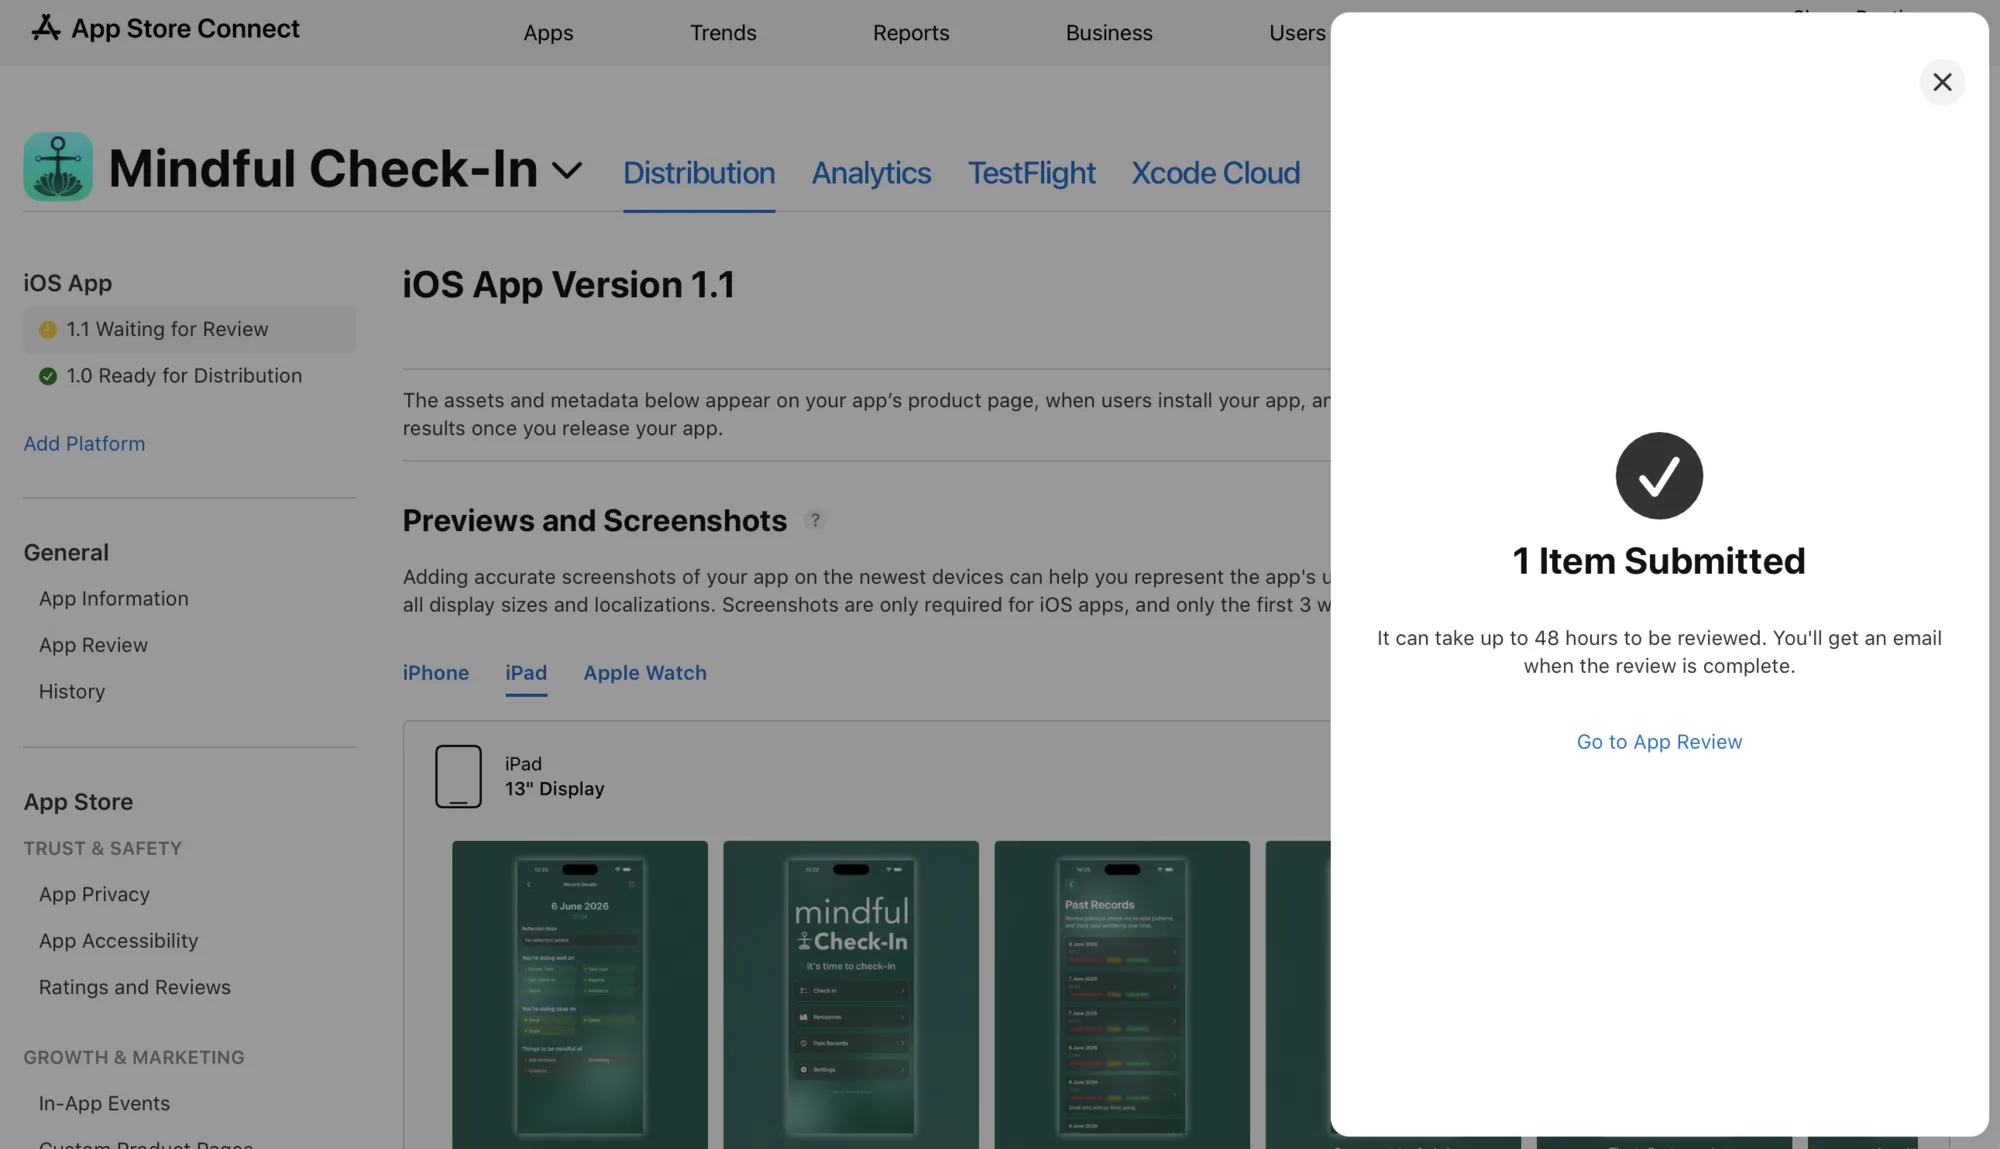
The biggest announcement this month (so far) is the submission of Mindful Check-In version 1.1. From quite an early build and showing a colleague, it was suggested that having this sort of protection over any form of personal data should be standard. At first I thought for this app, with the shallow depth of information in each survey, that it might be over the top. Though the longer I thought of it I could see how even the slightest recording of being unhappy could be enough to land someone in an awful domestic situation in a horrible position. So that became the next release priority, overtaking notifications which was intended from the earliest concepts.
Whilst working on 1.1 I also had the idea to implement a 'Check-In Score' down the line, though this would require some sort of logic that would be suitable - I think ranking the various wellbeing categories by how well someone is managing them or not could be a good basis. This would potentially be a paid optional feature which in turn would fund a possible social media promotional campaign for the app as install numbers are low - of course, nobody knows about it. Though for me to invest enough money into it would not (presently) make sense.
The implementation of Face ID
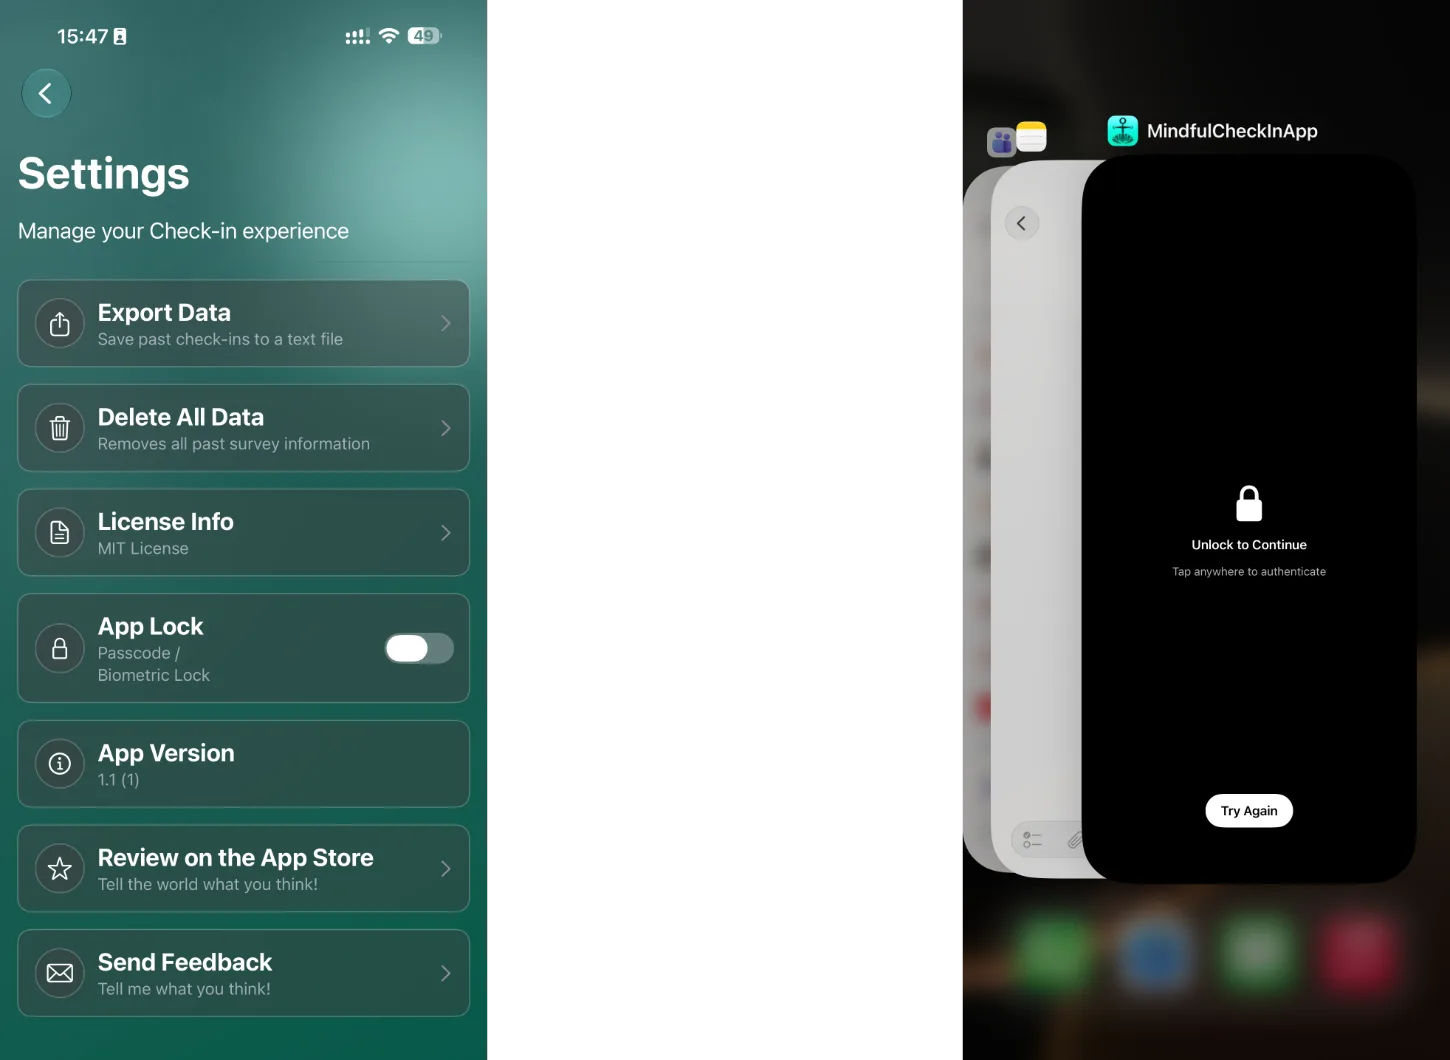
The goal was to have a toggle in settings that turns the feature on or off. When on, every single out-of-app experience the Mindful Check-In window should be protected by means of being covered. It was also necessary to cater for devices without FaceID (more broadly, biometrics - as a FaceID implementation can be used as a TouchID fingerprint sensor on older devices). There are also cases where people just prefer not to use or have biometrics set up; a fallback to using a simple passcode must be present here. Other than this, the rest of the app must be untouched or unaffected.
At a high level...
A small lock controller object owns a state which asks "is the app locked?". The root view of the app watches this. If locked, a full-screen lock UI is placed above everything on screen. If the user taps 'unlock' it sends a request to iOS to authenticate via FaceID or passcode as a fallback. If this completes successfully then the lock UI and state is dismissed. As it sits on top of the UI, it makes a bypass tricky.
State Management driven components...
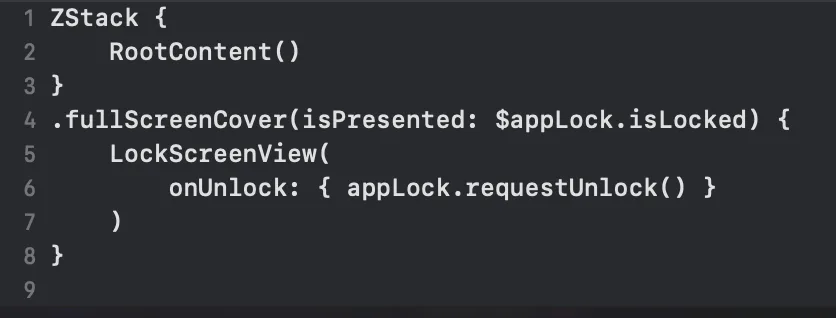
The root file (MindfulCheckInApp.swift) is wrapped in a property called '.fullScreenCover' which shows LockScreenView when 'appLock.isLocked' is true. A toggle property is stored in the apps @AppStorage container space "appLockEnabled" which the Settings panel toggle is bound to so that the setting can be turned on or off.
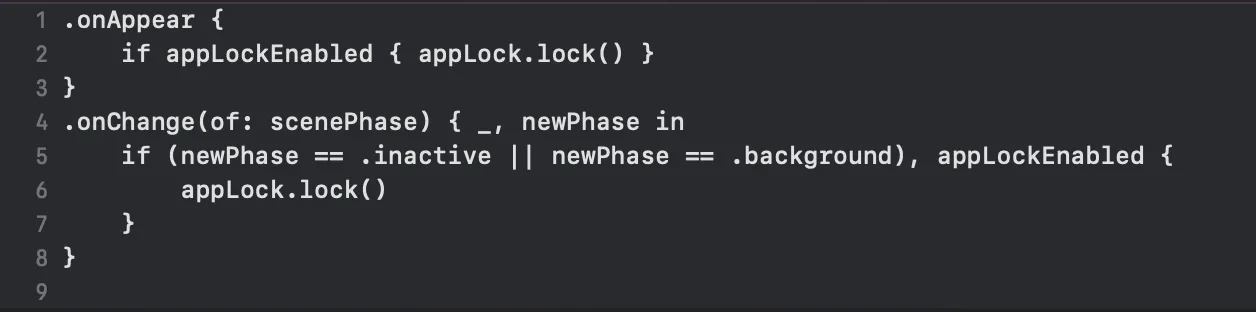
When the app's lifecycle stage changes, the app locks itself if appropriate. From a cold start, if enabled then the user will need to unlock it. When moving into the background or becoming inactive, the little preview card in the multitasking switcher should show the locked view and not the last screen (potentially exposing the user's data). Essentially one state object controls the lock, the app overlays the lock UI when needed and a lifecycle hook keeps it reliably presented when required.
Building Blocks
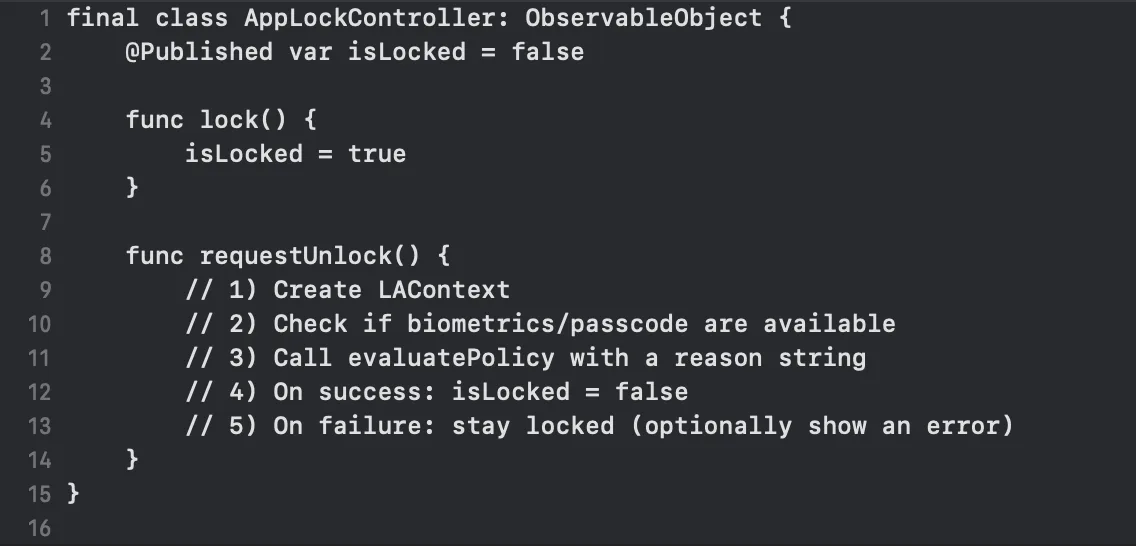
1. ObservableObject - the lock controller
Holds the lock state and performs the authentication with iOS. Uses 'LAContext' (local authentication context) which asks the system for one of FaceID, TouchID or passcode.
Pseudocode example:
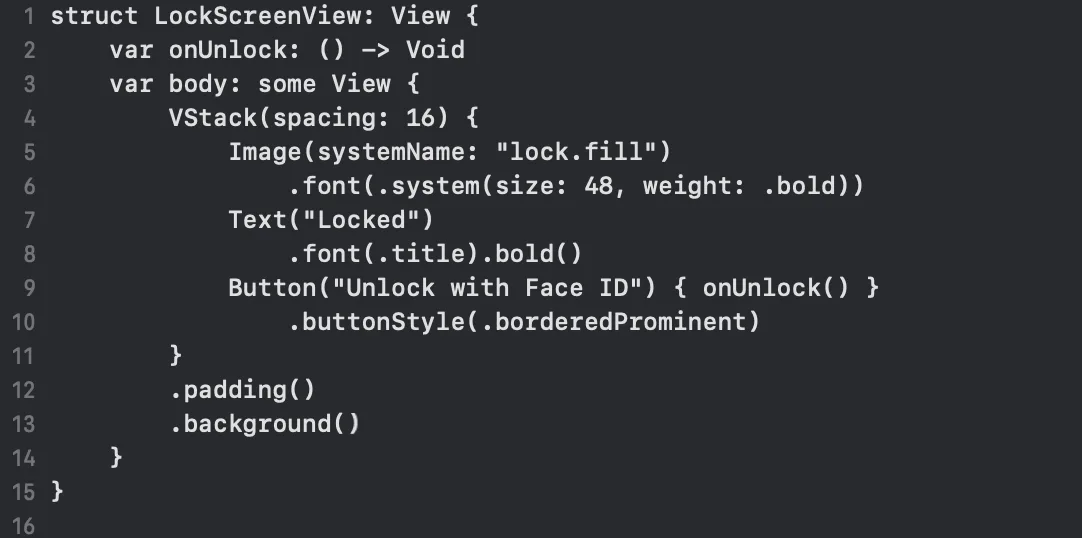
2. Locked Overlay - the full screen cover
The root view MindfulCheckInApp.swift shows a full-screen cover when locked. By implementing it here it is guaranteed to show on top of anything else the various UI Views or controllers may be showing. It cannot be bypassed through a route via deep links or other screens.
Pseudocode example:
3. Lifecycle Hooks - initiating when needed at short notice
Handles the lock on a fresh app start if the setting is enabled. Or on changes when the app becomes inactive or moved to the background. This is needed to ensure the blanked out locked UI is shown covering data where it was left upon the app being thrown to the background or left inactive.
Pseudocode example:
4. Info.plist Keys for FaceID
This really threw me off initially. When using system features in iOS you must let the project settings panel know that it's enabled. This is the standard process that fills in the little 'cancel or allow access' dialogues iOS shows when giving permissions that explain to users clearly what the app is trying to do. Within the Info tab, I scrolled down the list of properties and had to actually add and locate NSFaceIDUsageDescription, and then give it a general explanation that the user will see.
Pseudocode example:
5. Local Authentication Context Explained
The LAContext() asks the system which authentication method is set up and preferred on a user's device. If so this provides the reason string to the user asking if they wish to allow the feature to access their functions. iOS then handles everything such as whether to use FaceID, TouchID or fall back to the passcode. It will even provide errors if something is amiss. A simple success or failure is passed back - that's all Mindful Check-In ever sees. No biometric data or passwords entered. If successful, the isLocked property is set false.
Handling Edge Cases
My first few attempts (way back in March) at trying to implement this were futile. I could get bits and pieces to show ... inconsistently and was hit by errors for not having the Info.plist key populated. I also thought the likes of the full screen block... the UI of that and when it happens all came in some wrapped up 'faceID' line I could add to the app and it'd magically work. Not quite so. Everything such as the hiding of the data during multitasking must be set up. As magic as Apple platforms are, this isn't quite done for you to date. Probably for the best too as it forced me to think about it. I knew what I wanted and that it was possible from using banking apps. I also had a hell of a time trying to have it kick in at the right times. Things like being mid-survey were on top of the lock UI and the FaceID unlock box was popping up constantly with every view change... it was a nightmare at one stage which had me revert back and start from scratch. The settings toggle also didn't want to do its job at times and had to be re-attempted to bind to the right place to know when it needed to be listened to.
From basic user testing... I know that it can fall back to using a passcode if FaceID is turned off, if the user cancels the unlock, it stays locked until you ask it to try again. As per the basic system API, multiple failed attempts will lock biometrics and fallback to passcode only.
Privacy remains a priority.
With a way to lock and protect user data I have been thinking it would be a good idea next to try and implement some sort of encryption between saving user data to the disk and loading it up. Again, part of me is struck by 'is that really necessary on this app?' but then from building prototypes of the expense tracker project and trying to get my head around the FileManager API and its various implementation requirements, it might be worthwhile solely for the learning value.
All app data still lives locally within UserDefaults in JSON in this version. FaceID only provides a yes or no in line with Apple's strict permissions policies. And of course, user data on screen is protected in real world scenarios.
Workflow Wins
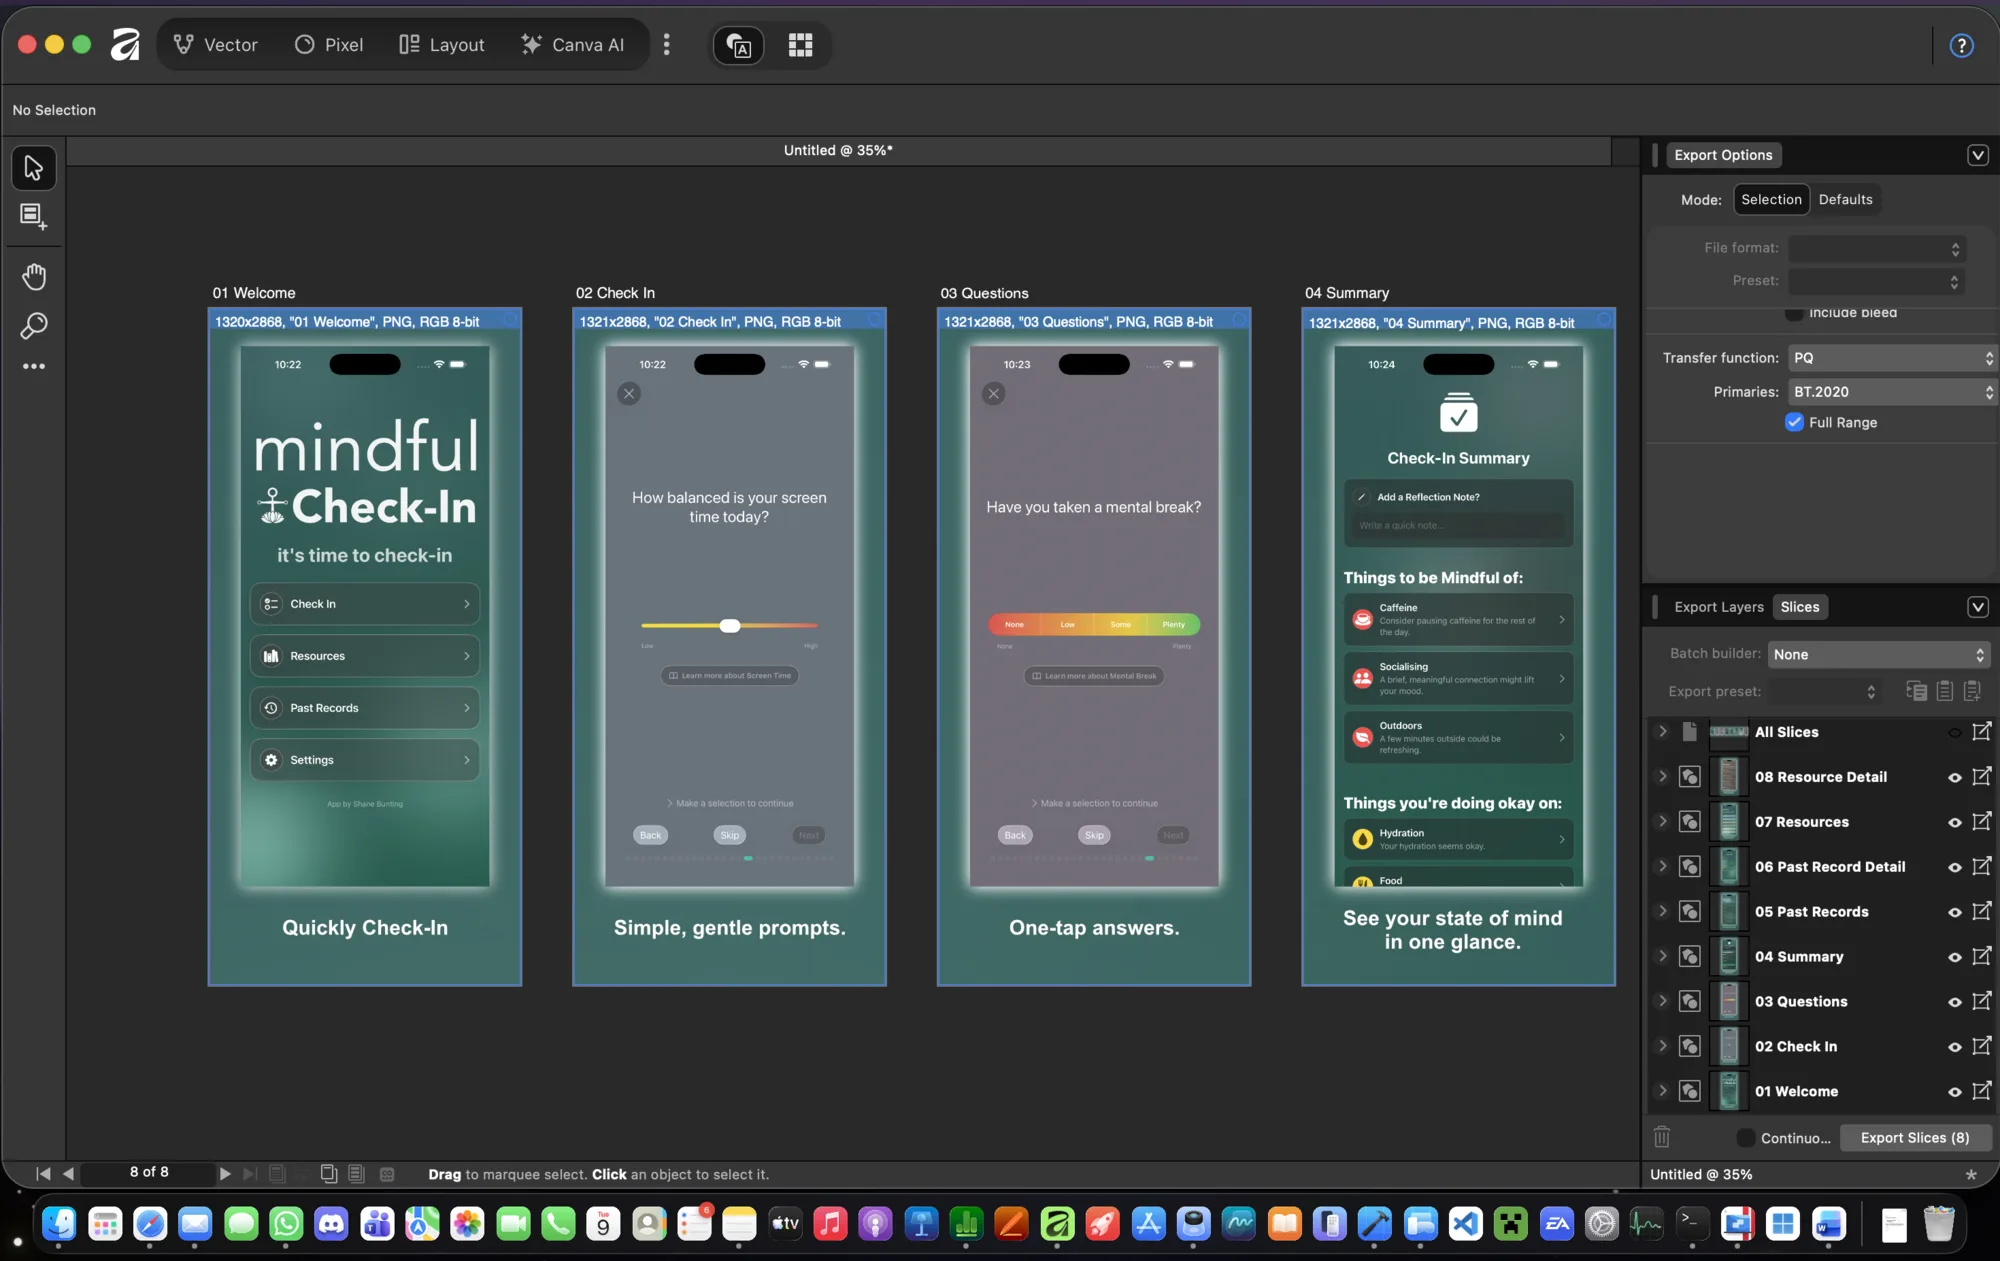
Each time I've uploaded to the App Store it's been hell to get the screenshots exported in the correct sizes for App Store Connect. I am well familiar with file formats, file sizes, dimensions and all that jazz. You'd think it would be as easy as dragging screenshots out of the Simulator app, into Finder and then into the App Store Connect site. Nope.
I spent a while today finally making use of Affinity's 'art boards' giving me a canvas within one project for multiple output files. It looks stunning. Consistency is easy to maintain and the 'slice studio' handles exports. One quirk experienced was setting a precise resolution of 1320 x 2868 per art board was showing as 1321 for some boards despite the dimensions being set to 1320. This carried through to exporting.
The App Store Connect site didn't exactly give much clarity over why it was rejecting the images at first. Some of this was me using the wrong device size (d'oh). But after that it was still refusing perfectly sized png files - verified with a Terminal command and in Finder itself.
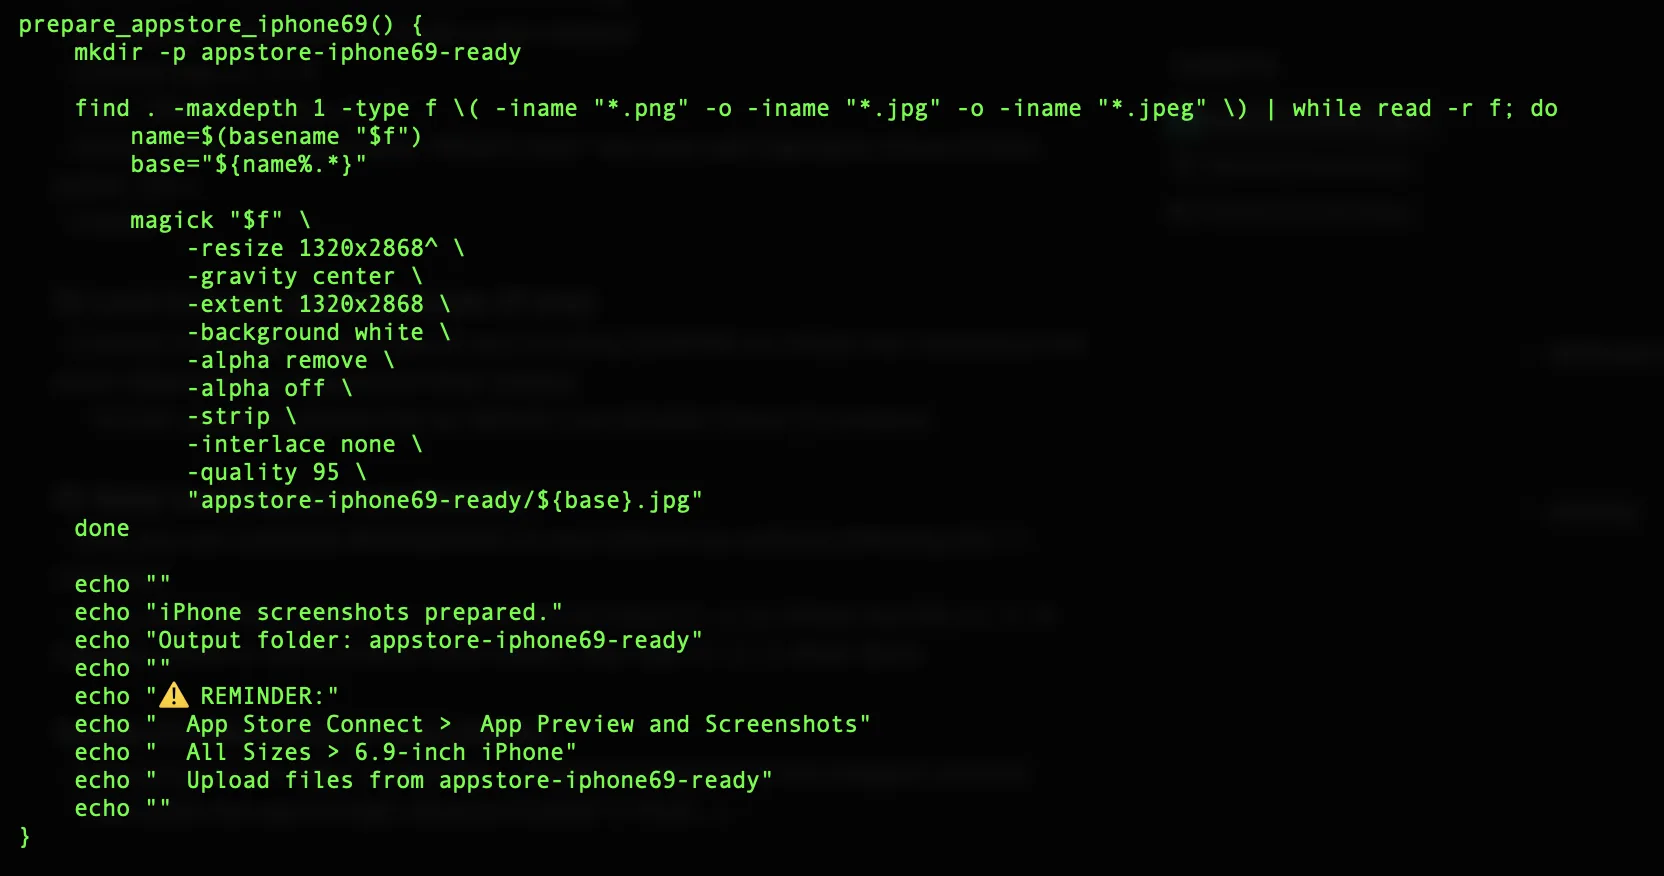
Only putting all output files through a script that trims them centrally and converts them to JPEG using magick worked. It was the only way that App Store Connect would accept the screenshots for the app store.
Through this I made a point to prepare some nice app store screenshots with a background and caption, similar to how big brand apps and services tend to. It's still relatively basic but a step forward for me.
Last time, Apple required iPad sized app store screenshots too, so I copied and modified the art board master template and scaled up the contents to fit. It required a similar set of scripts to be acceptable.
Since it'll be weeks or months before I use it again, I added it to my .zshrc file to be re-used. And also to remind me in its output that I need to be using the correct device screensize upload area on App Store Connect too.
In the future the workflow will be modify the Affinity art board template(s), export, run through the optimisation script and right into App Store Connect. It was well over an hour, nearly two of hitting the wall on this before making progress. Though it has led to some lasting processes to ensure it doesn't waste any time in the future.